

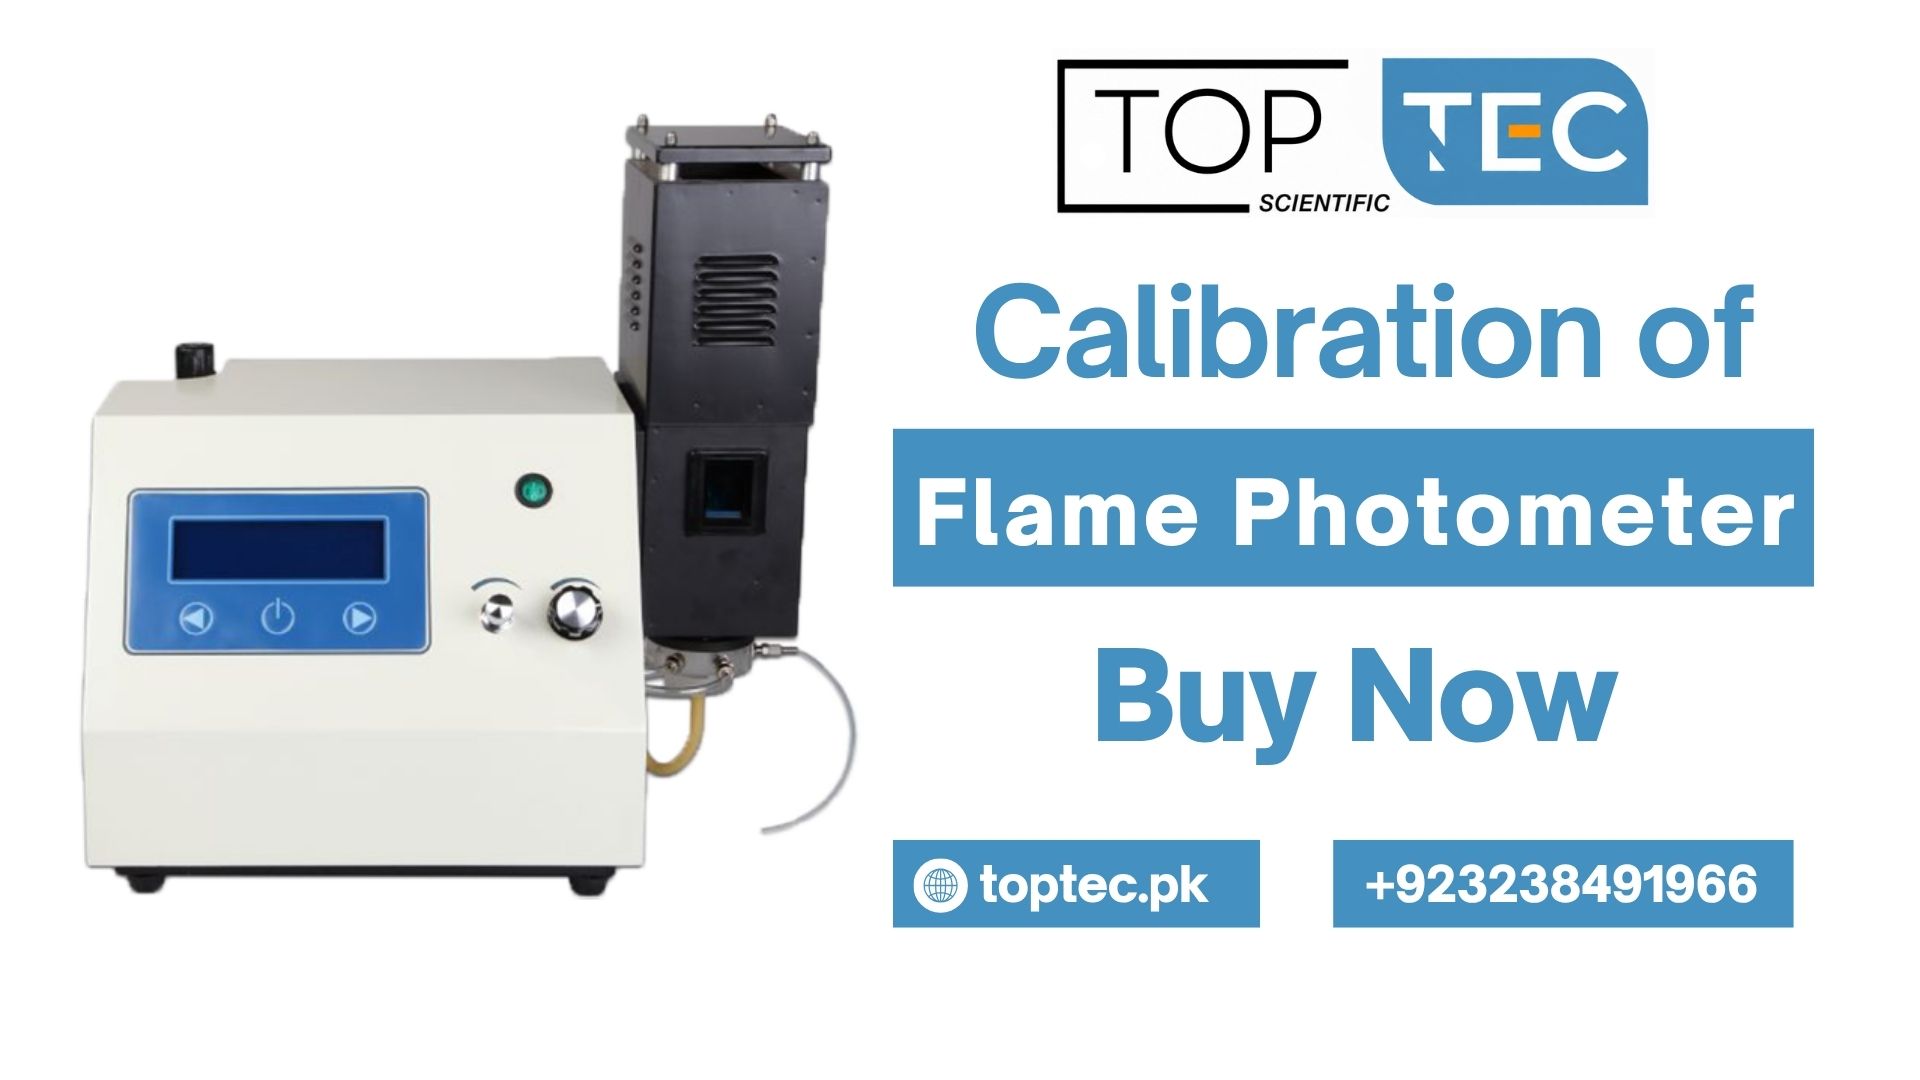
Learn how to calibrate a flame photometer step by step. Covers standard preparation for Na, K, Li, and Ca, blank correction, multi-point calibration curves, linearity checks, and troubleshooting common errors. Complete lab guide.
If you’ve ever worked in a clinical lab, soil science department, or pharmaceutical quality control unit, there’s a good chance you’ve dealt with a flame photometer at some point. And if you have, you also know that the accuracy of every single reading you take depends almost entirely on one thing — how well the instrument is calibrated before you start.
Skipping proper calibration of flame photometer equipment isn’t just bad practice. It’s the kind of shortcut that quietly ruins your data, wastes reagents, and eventually lands you in front of a very uncomfortable audit conversation. Whether you’re measuring sodium and potassium in serum samples, analyzing soil nutrient profiles, or monitoring industrial wastewater discharge, the flame photometer calibration process is the non-negotiable foundation on which all your results stand.
In this guide, we’re going to walk through the complete calibration process from start to finish — in plain language, step by step, with the kind of practical detail that actually helps you do it correctly in a real lab setting. We’ll also talk about building your calibration curve flame photometer properly, common errors to avoid, and why the physical environment of your lab — including the furniture and workstations you work from — matters more to your calibration results than most people think.
And yes, if you’re in Pakistan and looking to Buy Laboratory Furniture that actually supports the kind of precision work flame photometry requires, we’ll talk about why TOPTEC Scientific should be the first name on your list.
Let’s get into it.
What Is a Flame Photometer and Why Does Calibration Matter So Much?
Before we get into the step-by-step process of calibration of flame photometer instruments, let’s make sure we’re all starting from the same place.
A flame photometer is an analytical instrument that measures the concentration of specific metal ions — most commonly sodium (Na), potassium (K), lithium (Li), calcium (Ca), and barium (Ba) — by aspirating a sample solution into a flame and measuring the characteristic light emission produced when the metal ions are excited.
The physics behind it is elegant. Every element emits light at a specific, characteristic wavelength when its electrons are excited by heat and then return to their ground state. Sodium emits at 589 nm (that familiar yellow-orange color). Potassium emits at 768 nm. The flame photometer uses optical filters to isolate these wavelengths and measures the intensity of the emitted light using a photodetector.
Here’s where calibration becomes everything: the instrument measures light intensity, not concentration directly. To convert that intensity reading into an actual concentration value, you need to establish a mathematical relationship between known concentrations and measured intensities. That relationship is your calibration curve flame photometer — and without it, your numerical readings are essentially meaningless.
The calibration of flame photometer is not a one-time setup event. Temperature changes, gas pressure fluctuations, aspiration rate variations, filter contamination, and reagent variability can all shift your response curve between sessions. Which is exactly why every serious analyst runs a full flame photometer calibration procedure before every analytical session — not just occasionally.
Types of Flame Photometers — Brief Overview Before We Calibrate
Understanding what type of instrument you’re working with helps you calibrate it correctly. Not all flame photometers are configured the same way.
Direct Emission Flame Photometers The most common type in clinical and agricultural labs. The sample is aspirated directly into the flame, and the emitted light is measured directly by the detector through a wavelength-specific filter.
Internal Standard Flame Photometers These instruments add a known concentration of lithium (or sometimes cesium) as an internal standard to every sample and standard solution. The ratio of analyte emission to internal standard emission is measured, which compensates for variations in aspiration rate, flame temperature, and other matrix effects. This type gives more robust results in complex matrices.
Filter vs. Grating Systems Basic flame photometers use narrow-band interference filters to select the analyte wavelength. More advanced instruments use a diffraction grating, which allows continuous wavelength scanning and multi-element analysis in a single run.
The calibration of flame photometer process is broadly similar across these types, but understanding your instrument type helps you select the right calibration strategy — particularly when dealing with matrix interferences in clinical or environmental samples.
What You’ll Need Before You Start — Reagents and Preparation
Good flame photometer calibration starts well before you light the flame. Preparation quality directly determines calibration quality, so take this section seriously.
Stock Standard Solutions
You’ll need certified reference standard solutions for each element you’re measuring. These are typically available commercially at 1000 ppm concentrations and should carry a Certificate of Analysis (CoA) from a certified reference material provider.
Never prepare your working standards from a stock that has expired, that’s been stored incorrectly, or for which you can’t verify the provenance. This is one of the most common sources of systematic error in calibration of flame photometer work — and it’s entirely avoidable.
Working Standard Solutions
From your stock standard, you’ll prepare a series of diluted working standards that span the expected concentration range of your unknowns. These are the solutions you’ll use to construct your calibration curve flame photometer — so their accuracy is paramount.
Use calibrated volumetric glassware — Class A volumetric flasks, calibrated pipettes, and quality analytical grade diluent (typically deionized water with resistivity ≥18 MΩ·cm for most applications).
Blank Solution
Your blank is typically deionized water, but in some applications — particularly clinical serum work — you should use a matrix-matched blank to account for background emission effects.
Required Equipment Checklist
Before beginning any calibration of flame photometer procedure, confirm you have:
- ✅ Calibrated volumetric glassware (Class A)
- ✅ Calibrated analytical pipettes or micropipettes
- ✅ Certified reference standards with valid CoA
- ✅ Fresh, reagent-grade deionized water
- ✅ Appropriate fuel gas supply (LPG or natural gas — check your instrument specification)
- ✅ Compressed air or oxygen supply (instrument dependent)
- ✅ Clean sample cups or nebulizer tubes
- ✅ Logbook or electronic data recording system
- ✅ Calibrated thermometer and barometer (for environmental logging)
That last item is more important than it looks. Environmental conditions — particularly atmospheric pressure and ambient temperature — affect combustion characteristics and therefore your flame photometer calibration results in ways that are small but measurable over time.
Step-by-Step Calibration of Flame Photometer — The Complete Process
Alright — let’s get to the actual procedure. Follow this sequence carefully, every single time.
Step 1 — Prepare Your Standard Solutions
This is where your calibration curve flame photometer either gets built correctly or doesn’t. There’s no recovering from poorly prepared standards.
For sodium (Na) and potassium (K) in clinical samples: A typical working range for serum or urine analysis might be:
- 0 ppm (blank)
- 20 ppm
- 40 ppm
- 80 ppm
- 140 ppm
- 200 ppm
For soil and agricultural analysis: Your concentration range will vary depending on expected soil nutrient levels — consult your method protocol.
Prepare each standard fresh on the day of analysis when working with sodium and potassium, because these elements are ubiquitous environmental contaminants. Even trace contamination from labware, pipette tips, or airborne dust can shift your low-concentration standards meaningfully.
Label everything clearly. Mix each standard thoroughly. Allow them to reach room temperature before use.
Step 2 — Warm Up the Instrument
Never rush this step. A flame photometer that hasn’t reached thermal equilibrium will give you drifting readings throughout your calibration session — which means your calibration curve flame photometer won’t be reproducible.
Turn on the instrument and ignite the flame according to your specific instrument’s SOP. Allow a minimum of 15–20 minutes of warm-up time before beginning any calibration measurements. Some instruments require longer — check your manual.
During warm-up, run deionized water through the nebulizer continuously. This washes any residual contamination from the aspiration system and gives the flame time to stabilize thermally.
Check your gas supply pressure. An unstable gas supply pressure directly causes unstable flame characteristics — which completely undermines flame photometer calibration precision. Your gas pressure should be within the instrument manufacturer’s specified range and stable throughout the session.
Step 3 — Set the Correct Filter/Wavelength
Select the appropriate interference filter or set the wavelength selector for the element you’re measuring:
| Element | Emission Wavelength | Typical Filter Color |
|---|---|---|
| Sodium (Na) | 589 nm | Yellow |
| Potassium (K) | 768 nm | Red/Near-IR |
| Lithium (Li) | 671 nm | Red |
| Calcium (Ca) | 622 nm | Orange-Red |
| Barium (Ba) | 554 nm | Green |
For instruments using internal standard mode with lithium, you’ll need to configure both the analyte and internal standard detection channels before beginning calibration of flame photometer measurements.
Step 4 — Zero the Instrument with Blank
Aspirate your blank solution (deionized water or matrix-matched blank) and zero the instrument. Most modern flame photometers have a dedicated zero/blank control — adjust it so that the blank reads 0.0 on the display.
This step establishes your baseline. Every subsequent reading is measured relative to this baseline — so a poorly established zero directly errors every single data point in your calibration curve flame photometer.
Allow the blank reading to stabilize completely before zeroing. If the blank reading is fluctuating continuously and won’t settle, you have a problem — either the flame is not yet stable, the blank is contaminated, or there’s an aspiration system issue that needs investigating before you continue.
Step 5 — Aspirate the Highest Standard and Set Span
After zeroing with the blank, aspirate your highest concentration standard and adjust the instrument’s sensitivity or gain control so that it reads the correct value for that standard.
This two-point operation — zero with blank, span with high standard — is the foundation of basic flame photometer calibration. It establishes the upper and lower bounds of your measurement range.
Allow each standard at least 30 seconds of aspiration time before recording the reading. Aspirate deionized water between each standard to rinse the system and prevent carryover — particularly important at the transition between high-concentration and low-concentration standards.
Step 6 — Measure All Working Standards and Build the Calibration Curve
Now aspirate each working standard in order from lowest to highest concentration, recording the instrument response (emission intensity or direct concentration readout) for each.
Best practice for calibration of flame photometer work:
- Aspirate each standard in triplicate (three consecutive readings) and average them
- Rinse with deionized water for at least 20 seconds between each standard
- Record all readings contemporaneously in your logbook — not from memory afterward
Once you have your complete dataset, it’s time to construct your calibration curve flame photometer properly.
Plot your data:
- X-axis: Known standard concentration (ppm or mmol/L)
- Y-axis: Instrument response (emission intensity units or percentage transmission)
For most flame photometric analyses, the calibration curve flame photometer should be linear within your working range. Apply linear regression to calculate the best-fit line:
y = mx + b
Where:
- y = instrument response
- m = slope of the calibration line
- x = concentration
- b = y-intercept (ideally close to zero)
Your coefficient of determination (R²) should be ≥ 0.999 for a properly constructed calibration curve flame photometer in most regulated applications. If your R² is lower than this, investigate before proceeding:
- Were standards prepared correctly?
- Is there carryover between standards?
- Is the flame stable?
- Are there matrix interferences?
A poor R² is the calibration of flame photometer process telling you something is wrong — listen to it.
Step 7 — Verify the Calibration with a Check Standard
Before analysing any unknowns, aspirate a quality control (QC) check standard — typically a mid-range standard prepared independently from your calibration standards — and verify that the instrument’s reading falls within ±5% of the expected value (or within the tolerance specified by your method protocol).
This verification step is a critical checkpoint in flame photometer calibration practice. It confirms that your calibration curve is working correctly and catches any systematic errors before they affect your unknown sample data.
If your QC check fails the tolerance criterion, do not proceed with sample analysis. Repeat the calibration of flame photometer procedure from the beginning and investigate the source of the discrepancy.
Step 8 — Analyse Unknown Samples
With a validated calibration in place, you can now aspirate unknown samples and read their concentrations directly from the calibration curve flame photometer — either by the instrument’s internal software, or manually from the regression equation if you’re using a simpler instrument.
Key points during sample analysis:
- Rinse between every sample with deionized water
- Re-aspirate the blank every 10–15 samples and confirm it still reads zero
- Run your QC check standard every 20 samples or so to confirm calibration stability
- If samples fall outside your calibration range, dilute them and reanalyse — never extrapolate beyond your calibration curve
Step 9 — Repeat Calibration if Conditions Change
This is one of the most commonly overlooked aspects of flame photometer calibration in busy labs. If any of the following occurs during your analytical session, you must re-calibrate from scratch:
- Significant change in ambient temperature (more than 5°C)
- Gas supply interruption or pressure fluctuation
- Instrument warm-up after standby
- Change in reagent lot for standards or diluent
- Any equipment maintenance or cleaning performed during the session
The calibration of flame photometer instruments is not a once-a-day task. It’s a living process that needs to be re-validated whenever conditions change materially.
Step 10 — Shut Down and Documentation
After your session is complete, aspirate deionized water for at least 5 minutes to thoroughly clean the nebulizer and aspiration system. Then shut down the flame following your instrument’s SOP — typically extinguishing the flame before closing gas supplies.
Document everything:
- Date and time of calibration
- Analyst name
- Standard lot numbers and expiry dates
- Calibration curve data points and R² value
- QC check results
- Any anomalies or corrective actions taken
Good documentation is the difference between a flame photometer calibration that supports your data defensibly and one that falls apart under regulatory scrutiny.
Building a Proper Calibration Curve — Advanced Tips
Let’s spend a little more time on the calibration curve flame photometer construction, because this is where a lot of labs make avoidable mistakes.
Tip 1 — Cover Your Expected Range, Not Just a Wide Range
The calibration curve flame photometer should bracket your expected sample concentrations — not just extend as wide as possible. A curve from 0–200 ppm is meaningless if all your samples fall between 0–20 ppm, where the low end of a wide-range curve may not have sufficient data point density.
Tip 2 — Use at Least 5 Calibration Points
A two-point calibration (zero + one standard) is not sufficient for verified quantitative work. Use a minimum of 5 concentration points — including the blank — to build a calibration curve flame photometer that’s statistically valid.
Tip 3 — Check for Non-Linearity
At high concentrations, the calibration response can deviate from linearity due to self-absorption and matrix effects. Always include standards that push the upper end of your expected range and verify that the curve remains linear there. If it curves at high concentrations, narrow your working range accordingly.
Tip 4 — Matrix Matching
For clinical samples (blood, serum, urine), your calibration standards should be matrix-matched to minimize the effect of dissolved solids, proteins, and other components on the aspiration characteristics and flame chemistry. This is one of the most important refinements in clinical calibration of flame photometer work.
Tip 5 — Run Calibration Curves in Duplicate
In regulated labs, running each standard in duplicate and averaging the results is good practice. It catches any individual measurement errors and gives you a more reliable calibration curve flame photometer as a result.
Common Errors in Flame Photometer Calibration — And How to Fix Them
Even experienced analysts run into problems with flame photometer calibration from time to time. Here are the most common issues and what to do about them.
Problem: Drifting Readings During Calibration
Cause: Instrument not properly warmed up, unstable gas pressure, clogged nebulizer tip. Fix: Extend warm-up time. Check and stabilize gas pressure. Clean the nebulizer tip. Repeat calibration of flame photometer after addressing.
Problem: Poor R² Value on Calibration Curve
Cause: Improperly prepared standards, contaminated glassware, unstable flame, matrix interference. Fix: Prepare fresh standards using fresh deionized water and clean glassware. Investigate and correct before rebuilding calibration curve flame photometer.
Problem: Blank Doesn’t Read Zero After Zeroing
Cause: Contaminated blank solution, residual carryover in aspirator, sodium or potassium contamination from fingertips on glassware. Fix: Prepare a fresh blank. Rinse aspirator thoroughly with ultra-pure water. Always use gloves when handling standards and glassware — skin is a potent sodium contamination source.
Problem: QC Check Fails Tolerance
Cause: Calibration drift, standard degradation, instrument instability. Fix: Repeat full flame photometer calibration with fresh standards. Investigate source of drift before proceeding with samples.
Problem: High Carryover Between High and Low Standards
Cause: Insufficient rinse time between standards. Fix: Extend rinse time to at least 30 seconds between each standard. Consider introducing a rinse step with slightly acidified water (0.1% HNO3) between high and low concentration solutions.
Why Your Lab Furniture and Workspace Matters to Calibration Results
This is something that doesn’t get talked about nearly enough when people discuss calibration of flame photometer procedures — and it genuinely matters.
Flame photometry is a technique sensitive to vibration, temperature variation, and contamination. Where your instrument sits, what it sits on, and how your workspace is arranged directly affects your flame photometer calibration results in ways that are real and measurable.
Think about it:
Vibration — A flame photometer on a wobbly, lightweight workbench is a flame photometer with an unstable aspiration rate. Vibration from other lab activities transmitted through the bench affects the nebulizer and aspiration tube, causing erratic readings that make building a reproducible calibration curve flame photometer genuinely difficult.
Temperature stability — If your instrument is near a window, an HVAC vent, or a door that opens to a cold corridor, the ambient temperature swings affect combustion characteristics and your calibration of flame photometer results will shift throughout the day.
Chemical contamination of work surfaces — Sodium and potassium are everywhere in a lab environment. If your work surfaces aren’t properly sealed and easy to decontaminate, residual contamination from previous work finds its way into your standards and samples.
Ergonomics and organization — A well-organized workspace where reagents, standards, and glassware have designated places reduces handling errors and cross-contamination risk during flame photometer calibration preparation.
This is why what you Buy Laboratory Furniture with actually matters to the quality of your analytical results — not just to the aesthetics of your lab. The right benching system for flame photometry work is one that’s:
- Rigid and vibration-dampening
- Chemical resistant (epoxy resin or phenolic resin surface)
- Easy to decontaminate
- Properly sized to accommodate the instrument and all calibration workflow steps without crowding
When you Buy Laboratory Furniture from a quality manufacturer like TOPTEC Scientific, you’re not just buying a table. You’re investing in the physical infrastructure that your analytical work stands on.
Why TOPTEC Scientific Is the Right Partner for Pakistani Labs
Let’s talk specifically about the Pakistani laboratory context, because it has its own challenges and needs that matter when you make decisions about where to source equipment and infrastructure.
TOPTEC Scientific is a Lahore-based manufacturer — emphasis on manufacturer — of laboratory furniture and controlled environment equipment. They design and build their products in Pakistan, for Pakistani laboratories, with a deep understanding of what labs in this country actually need.
When you choose to Buy Laboratory Furniture from TOPTEC Scientific rather than importing foreign brands, here’s what that decision actually means in practice:
🏭 Manufactured in Pakistan — Built for Pakistani Lab Conditions
TOPTEC’s products are designed and manufactured locally. They understand Pakistani power infrastructure, climate conditions, regulatory requirements, and the practical day-to-day realities of running a lab in Lahore, Karachi, Islamabad, or anywhere else in the country.
💰 No Import Premium — More Value for Your Budget
When you eliminate import duties, freight costs, and currency exchange risk, you get significantly more value for the same budget. For labs under procurement pressure — which is almost every lab in Pakistan — this matters enormously. You can Buy Laboratory Furniture of equivalent or superior quality to imported alternatives at substantially better pricing.
⚙️ Local After-Sales Support
When a workbench needs modification, a fume hood needs servicing, or a storage cabinet needs a replacement component, TOPTEC’s team is locally accessible. No waiting weeks for international service agents. No expensive overseas technical visits.
📋 Regulatory Context Alignment
TOPTEC understands DRAP requirements, WHO-GMP expectations, and the specific compliance landscape of Pakistani pharmaceutical, clinical, and research laboratories. Their laboratory furniture products are designed with that regulatory context in mind — not adapted from designs built for foreign regulatory environments.
🔧 Custom Fabrication Capability
Got a non-standard lab layout? Need specific chemical resistance for a particular application? Require particular dimensions to fit an existing space? TOPTEC can customize. Standard international product catalogs cannot.
What TOPTEC Scientific Offers When You Buy Laboratory Furniture for Flame Photometry Lab Setups
If you’re setting up or upgrading a lab where calibration of flame photometer instruments and related analytical work takes place, here’s what TOPTEC Scientific can provide:
Laboratory Workbenches — Rigid, level, vibration-minimizing bench systems with epoxy resin or phenolic resin work surfaces that are resistant to the acids and solvents used in standard preparation. These are exactly the kind of surfaces you want under a flame photometer.
Chemical Resistant Lab Tables — For areas where standard preparation and reagent handling happens. Acid-resistant surfaces are critical when you’re working with the dilute mineral acid solutions used in some flame photometry applications.
Stainless Steel Lab Tables — For pharmaceutical and clinical lab areas where hygienic, easy-to-decontaminate surfaces are a priority. Critical for keeping sodium and potassium contamination in the workspace under control.
Fume Hoods — Essential when working with concentrated acid standards or when fuel gas is in use. A properly specified fume hood in your flame photometry area is both a safety requirement and a regulatory expectation.
Storage Cabinets — For secure, organized storage of certified reference standards, reagents, and flammable materials. Proper storage is part of maintaining the integrity of your flame photometer calibration standards over time.
Overhead Service Carriers and Utility Systems — For clean, organized routing of gas lines, electrical supply, and ventilation connections in a flame photometry lab setup.
When Pakistani analytical labs, pharmaceutical QC departments, clinical chemistry laboratories, soil science departments, and environmental testing facilities choose to Buy Laboratory Furniture from TOPTEC Scientific, they’re getting a complete infrastructure solution — not just individual pieces of furniture.
Calibration of Flame Photometer — Frequency and Scheduling Recommendations
One question that comes up constantly is: how often should you calibrate?
The honest answer is: more often than most labs currently do. Here are the general guidelines:
At the start of every analytical session — Full calibration of flame photometer with complete calibration curve flame photometer construction is the professional standard. Not weekly. Not daily. Every. Single. Session.
After any interruption to the flame — If the flame goes out mid-session and is re-lit, re-calibrate before continuing analysis.
After a gas supply change or pressure adjustment — Gas characteristics affect flame temperature and combustion chemistry. Any change demands re-calibration.
After instrument maintenance or cleaning — Cleaning the nebulizer, replacing filters, or any other maintenance activity requires a fresh flame photometer calibration before results can be trusted.
Every 20–30 samples during long runs — Verify your QC check standard regularly and re-calibrate fully if it drifts outside tolerance.
Whenever ambient conditions change significantly — Temperature or pressure swings of more than 5°C or equivalent affect the calibration curve flame photometer relationship in measurable ways.
In regulated pharmaceutical and clinical laboratories, calibration frequency and acceptance criteria should be formally documented in an SOP, and all calibration records should be maintained as part of the GMP documentation system.
Regulatory Context for Flame Photometer Calibration in Pakistan
For labs operating under regulatory oversight in Pakistan — whether DRAP, hospital accreditation bodies, or international standards like ISO 15189 for clinical labs — proper documentation of calibration of flame photometer procedures is not optional.
Your calibration documentation should include:
- Instrument identification (make, model, serial number)
- Date, time, and analyst name
- Method reference (SOP number and version)
- Standard details (lot number, expiry date, preparation records)
- All raw calibration data (individual standard readings)
- Calibration curve flame photometer parameters (slope, intercept, R²)
- QC check results and acceptance criteria
- Any deviations or corrective actions
- Analyst signature and, where required, supervisor countersignature
Maintaining complete, contemporaneous calibration records is what distinguishes a lab that can defend its data from one that can’t. And that matters enormously when regulatory inspectors arrive, when patient safety depends on your clinical chemistry results, or when a pharmaceutical batch release decision rests on your analytical data.
Summary — Key Takeaways for Proper Flame Photometer Calibration
Let’s bring everything together. Here’s what you need to remember from this complete guide to calibration of flame photometer instruments:
1. Calibration is not optional — it’s the foundation of every reliable result.
2. Prepare your standards carefully. Certified reference materials, calibrated glassware, and ultra-pure water are non-negotiables.
3. Warm up the instrument fully — at least 15–20 minutes — before starting flame photometer calibration.
4. Build your calibration curve flame photometer with at least 5 concentration points and verify linearity (R² ≥ 0.999).
5. Always verify your calibration with an independent QC check standard before analysing unknowns.
6. Rinse thoroughly between every standard and sample to prevent carryover.
7. Document everything — contemporaneously and completely.
8. Re-calibrate whenever conditions change. The calibration of flame photometer instruments is a living process, not a checkbox.
9. Your physical workspace matters. Stable, chemical-resistant, well-organized lab furniture directly supports the quality of your flame photometer calibration work.
10. For Pakistani labs, sourcing quality laboratory furniture locally from TOPTEC Scientific makes economic, logistical, and regulatory sense.
Contact TOPTEC Scientific — Pakistan’s Laboratory Furniture Manufacturer
If you’re setting up or upgrading a flame photometry lab, an analytical chemistry department, a pharmaceutical QC suite, or any other laboratory facility in Pakistan, don’t settle for imported furniture at inflated prices with poor local support.
TOPTEC Scientific House # 51, Block E, Street # 8, Fathe Abad Academy Road, Nearby Shair Paioo Bridge, Lahore Cantt, Pakistan 🌐 Visit: toptec.pk
Whether you need to Buy Laboratory Furniture for a single analytical instrument workstation or fit out an entire laboratory floor, the TOPTEC Scientific team has the expertise, the manufacturing capability, and the local support structure to deliver exactly what your lab needs — on time, on budget, and built to last.
